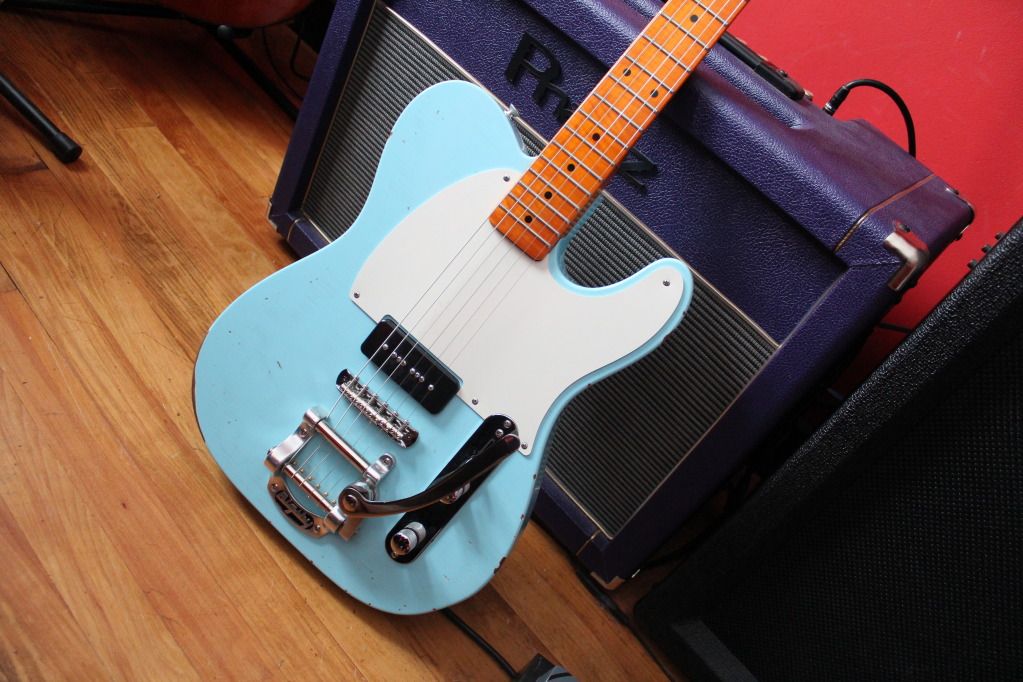
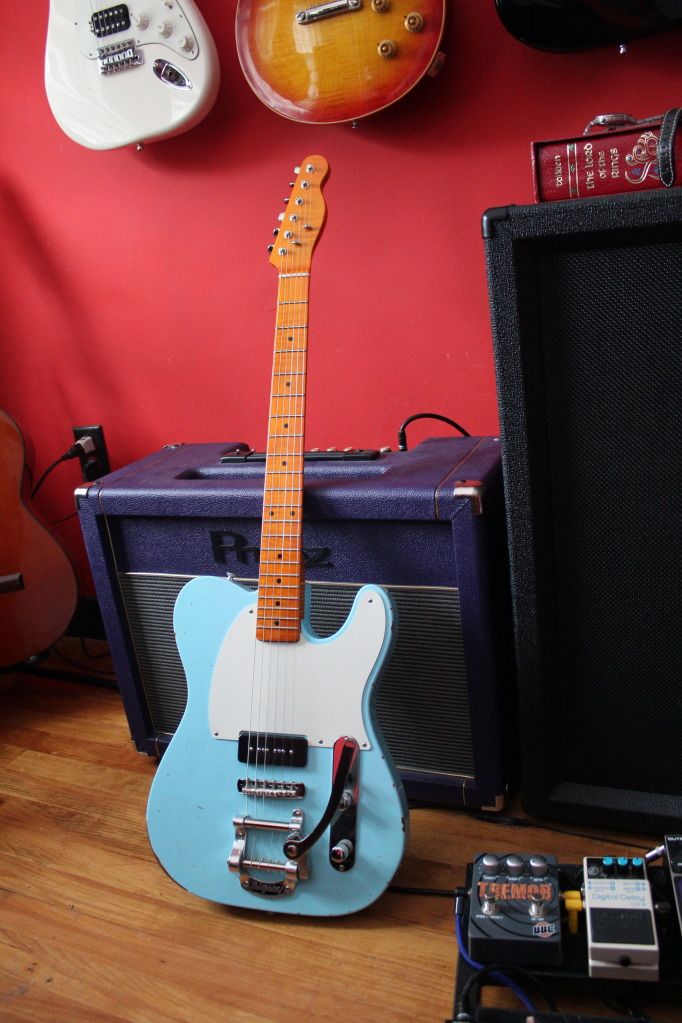
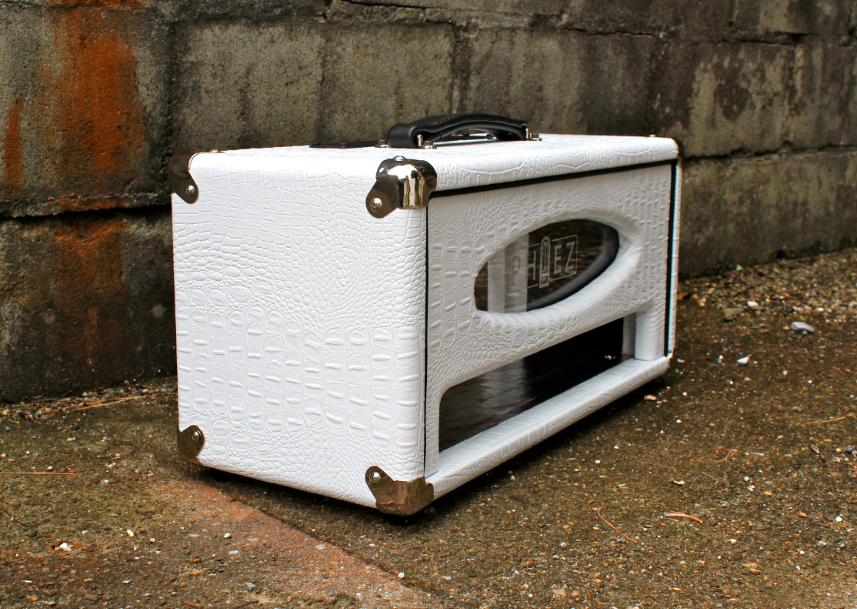
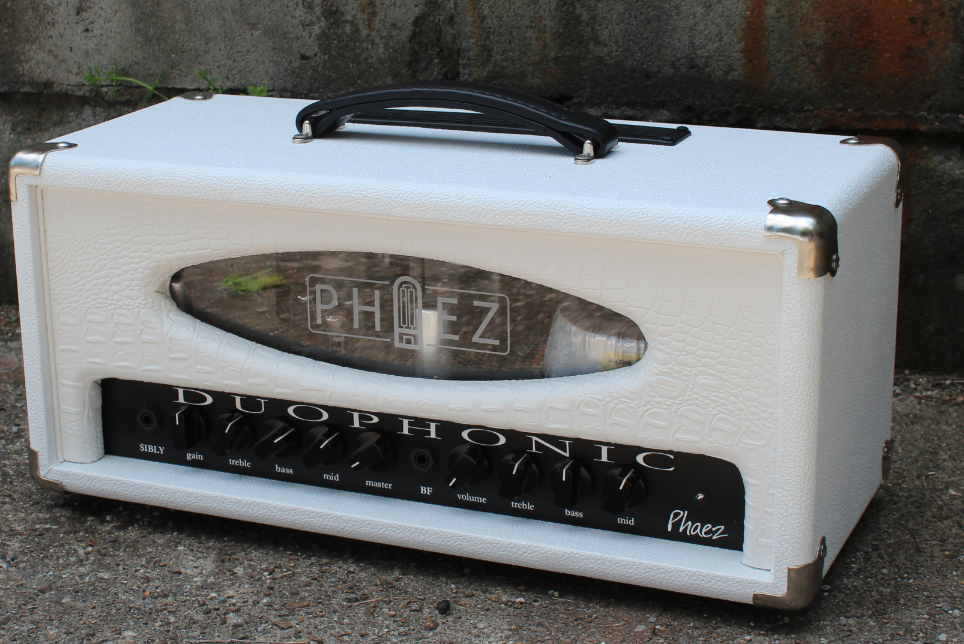
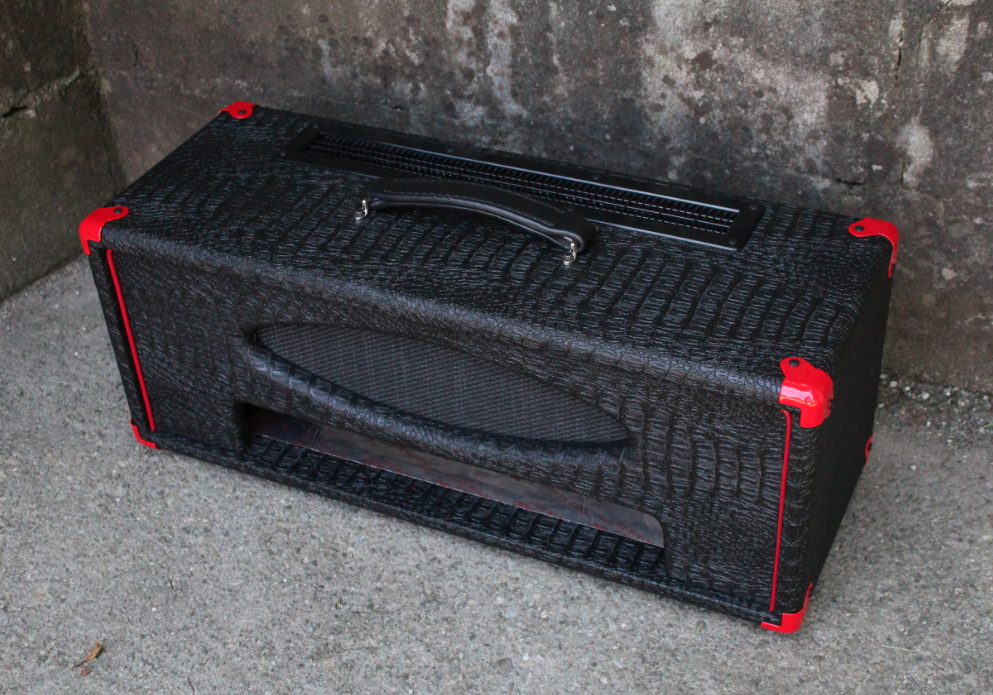
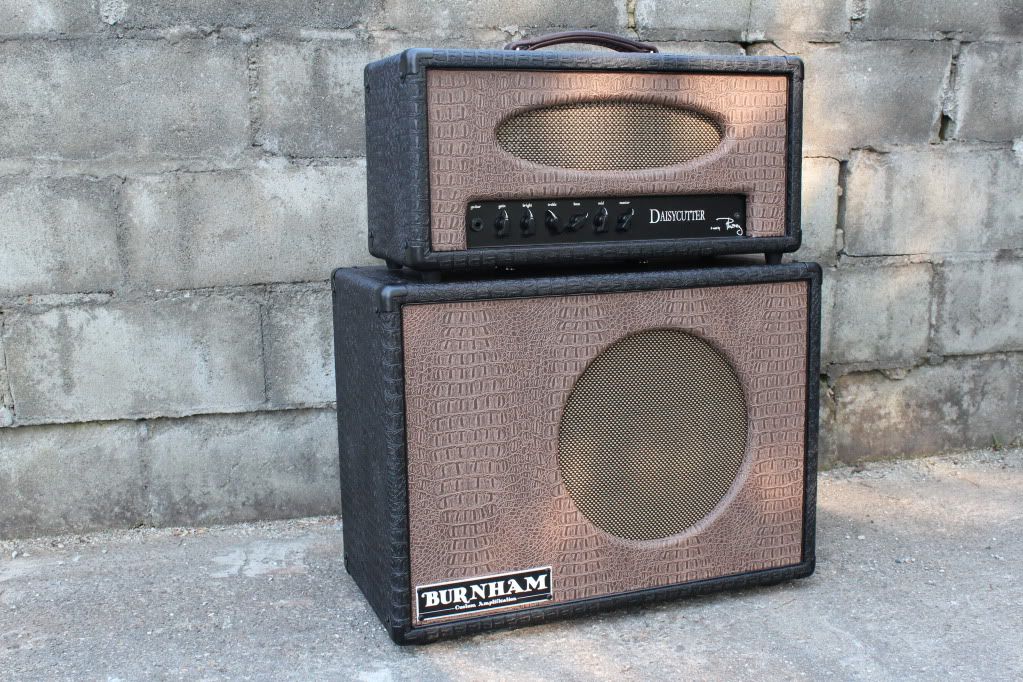
So, I've always wanted to be involved in building a guitar. When I was thirteen, I drew some plans for a Les Paul style guitar with a Fender Strat style neck (I know! Blasphemy!) I did a ton of research online and in books but always felt like I needed some help from a real live luthier! I tried my hand at carving a strat neck and it was awful! I sort of shelved the idea because I felt I just couldn't pull it off on my own. Well, fast forward eight years. I'm now 21 and although I have a pretty good understanding of basic carpentry, the idea of undertaking the building of a guitar on my own is somewhat daunting. I have built quite a few speaker cabs and headshells for guitar amplifiers, as well as some furniture which can also be seen on this blog, but to me, building a guitar is quite a step up from learning some joinery and putting a 112 speaker cab together.
So here I am a few months ago looking for a nice versatile acoustic guitar to complement the Taylor 310ce that I currently use everyday. When it comes to my gear, I am extremely picky. This is one of the factors that led me to building my own cabs. I just couldn't find a cab that was perfect for me so I built one. I was looking for an acoustic with a thin waste and a 16" lower bout (Taylor grand auditorium style) Preferably out of koa which is one of my favorite woods both tonally and visually. The sound I was looking for was very specific. I love Taylors for their midrange and their feel but they always seem to have to much high end and not enough bass. Martin Dreadnoughts on the other hand always have tons of bass and volume but nothing else! I can't stand a Martin "cannon"! I wanted an even sounding guitar with equal amounts of bass, middle and treble. I wanted it to be dynamic and warm but still punchy enough to cut through a dense mix. I wanted a complex sound, but with a enough volume to be more than just a finger picker. It seems like a lot to ask. I said I was picky!.
So, in a twist of fate, my brother broke the headstock of his Gibson EB3 bass and was on the hunt for a luthier to repair it. He found the number of one who lived really close by! I went with him to see what this guy (Don Wilson) was capable of and was blown away. He had some archtops sitting in his shop that he was in the middle of working on and they were immaculate! I could tell this guy was a perfectionist! I asked him if he builds steel string guitars and he said, "I do it all!" (I like that!) So we talked guitars for a bit and he invited me back to talk over some ideas for this Alex Burnham guitar. It was really funny because the conversation that ensued would have been incoherent to a non addict (guitars addict that is). It's the language of the gear-head. Don, I guess impressed with the fact that my eyes hadn't glazed over at his description of the mechanics and physics of a vibrating guitar string and the different tones imparted due to a shorter scale length, invited me to build this guitar along side him. I'm very excited to finally see (and be a part of) a custom built guitar and have decided to document our actions on this blog. So here we go..........
Check out Don's website http://donaldkwilson.com/

I, in close contact with Don, went on a wood buying spree! I bought a premium grade koa back and side set from LMI as well as a premium fretboard and bridge blank. Then, on ebay, I found a couple billets of koa that were just so beautiful and priced crazy cheap for the current market (koa is never cheap cheap!) I had to have that too. So I have enough koa now for at least 3 guitars so we decided to build as many as we can and I'll sell the others and keep number 1. This first guitar as well as a laminate maple guitar that is being built at the same time as mine will be the focus first. When they are finished, we'll start some of the other koa guitars.
We spent a lot of time tapping wood to try and gauge the tonal properties of a specific piece of sitka spruce or cedar and finally settled on some nice sitka that Don had stashed away. (I'll get some pics of that next build session).

After the wood settled in to the shop's climate for a couple weeks, we used the thickness sander to bring the back and sides down to the right thickness. We then joined the book-match together, clamped it, and when it was dry, cleaned up the glue line and sanded again. Here is the glued up back set with the outline of the guitar traced onto it.


Currently the guitar is out of the bag with the braces glued up. Stay tuned!